Labels

Noah's Ark


For Christmas this year, my husband crafted this Noah's Ark set for our son.  Each year he plans on adding a few pairs of animals, and will continue to add to it even when our boy has outgrown playing with it. Our ark is now one of our family's treasures, and I hope it will be an heirloom that will be passed on for many generations.


This is the ark before it was assembled.  After looking at a lot of handmade arks, he designed this one using Tom's Arks as inspiration.  Tom was even kind enough to respond to questions. 


Here it is assembled, ready to be painted. 


This ark has a one-story cabin attached to the deck.  The deck and cabin lift off the ark to make it easier to access the inside of the ark, and the cabin's roof also lifts open.


Each animal's rough shape was cut using a scroll saw, and shaped using the sanding sleeve on a rotary tool. The figures were then shellacked and painted using acrylic paint, then shellacked again.  I love the detail and character he was able to carve into them.


This Christmas he focused on the traditional African large mammals, and carved a pair of African bush elephants, Rothchild giraffes, plains zebra, and African lions. Yes, we are biologist nerds :), and the patterns of the giraffe, length of tusk and ears on the elephant, and width of stripes on the zebras mimic these species and subspecies.  I can't wait to see what animals climb aboard the ark next year!


 I must admit the zebras are my favorite!


The ark was a hit Christmas morning, and though we've needed to make a few repairs because of rough play, I think I like a well-loved ark much better than one that is just a nice piece of art.


Play Kitchen


Quick Breakdown:

Carcass: $15 entertainment shelf from the thrift store (YES-finally found something that would work)! I love the granite-looking top and the curved front, as well as the height.  It fits perfectly under the kitchen bar).  This is the "before" shot-though I guess it's actually the "during" shot.  Originally it had some short feet, and that black thing on the left was attached to the bottom and would swing out-perhaps for hiding a remote?  The panel on the left was originally some shelves that were the same width as the ones on the right.  I moved the panel over and added a door.  I'd also already cut the hole for the sink before I thought to take the "before" photo.
Doors, drawer and added shelves: reclaimed particle board from Habitat for Humanity.
Knobs: unfinished wood wheels from hardware store, painted and bolted loosely so they spin, unfinished wood handles and a black sphere knob for the drawer (~$12.50, not including the two handles I broke before I realized the bolts included were too long).
Sink: brownie pan from the dollar store. I cut a hole in the top of the entertainment center the size of the pan minus the rim, and dropped it in.
Faucet: pvc p-trap ($4) spray painted copper (because that's what I had already).  I thought at first I'd use some blue ribbon for water, but found this cool yarn in my stash and decided to use it instead.  I just tied it together at one end, ran it through the pipe, and tied it to one of the bolts I used for the water taps. 
Oven Door: cut hole with jigsaw, then attached a $4 piece of plexiglass to the back.  I found the stove rack 2/$1 at the dollar store. I originally planned on putting one halfway up but they were too short.  I may do that if I find one that fits.
Stove Burners: painted wide-mouth mason jar lids
Hardware: I used four of the smallest hinges I could find ($1 for a two-pack), and two magnetic cabinet fasteners to keep them closed ($1).  I spent a lot more on screws and bolts than I thought I would, about $5 total including the bolts.  You'd think with all the random hardware I already have that I wouldn't have to buy anything...but nothing I had quite worked with that silly particle board.
Paint: One can of red spray paint, and some crafting paint. $3
Accessories: The dish set was part of the present, and his aunt sent the cute wood condiment set from Plan Toys.
Apron:  I made this in a hurry a few days ago when he insisted on an apron like mine while helping me cook.  I just used what I had on hand-but love how it turned out. I may make a pattern up and post it if there is interest.


My little buddy is still at the stage where he wants to do everything I do-and cooking is one of his favorites.  Tonight he helped put the chopped apples into a pot and to his delight, he got to sprinkle them with cinnamon sugar.  This concoction went over some pork chops, yummy!
For his second birthday I wanted to get him a play kitchen.  I looked around, and of course fell in love with the most expensive ones...and suddenly all the plastic ones just wouldn't do.  Some of my favorite play kitchens were re-purposed nightstands and entertainment centers.  A few months before his birthday I started watching the thrift shops and ooggled every garage sale I passed, without finding anything that would work.  A few weeks before his birthday I decided I'd need to make one from scratch.  I found some particle board at our local Habitat for Humanity shop-it was odd stuff, and had a light wood laminate sticker on one side, and a darker color sticker on the other.  It was the right price though- $3 per 8' board.  Luckily the darker color was pretty close to my kitchen cabinets so I drew up plans and started cutting-and immediately ran into problems. 
I soon found out the wood I'd bought was NOT intended to be cut with a jigsaw...but ya work with what ya got.  The particle board just fell apart when the teeth pulled up.  Switching to a scrollwork blade helped, at least the side I'd have facing outward wasn't too jagged but I started to have my doubts.  I am the ultimate amateur when it comes to woodworking.  I just jumped into the deep end and used black paint to cover up the worst of it...You'll notice I didn't take any closeup photos of my cut edges.
The night before his birthday I'd cut a few pieces but hadn't gotten very far.  I happened to try the thrift shop one more time, and found the entertainment center!  I don't think I could have made anything out of that particle board that would have lasted more than a week.  That entertainment shelf really saved the whole project.  I just had to move one support side over to make it wide enough  for the fridge, and add the drawer and stove door to the middle.  Sounds simple right?  It worked fine but took me two weeks of irregular use of nap-times and evenings.  Throw in multiple trips to the hardware store...I guess maybe I should sign up for that rewards card...and two weeks later I got it done. The point is I GOT IT DONE!  That's kind of a big deal in itself, judging by all the half-finished projects cluttering my craft room.   In hindsight I should have just bought a sheet of nice plywood and I would have been a lot happier with the results, rather than trying to be thrifty and green by using reclaimed wood.  I did learn from the experience, and I have to keep reminding myself this is for a TWO-YEAR-OLD.  I still might replace the doors later-most of the hard work is done already.  The project was not as cheap as I thought it would be considering I went the most inexpensive route I could-it just cost a bit here, a bit more there...  In the end I'm happy with the result, and think it was worth it, but I definitely could have bought a decent play kitchen for what I spent-and probably will do that next time.

You know what's the funniest thing is about all this? I found a table saw at a garage sale for $10 tonight!  Wish I'd found it a few weeks ago...


Pioneer Themed Family Reunion

 Ancestral home, we were lucky enough to be invited in.
 
It was our turn last year to organize the annual family reunion, and we'd been waiting for it eagerly (ok, maybe not eagerly) but we'd been planning out a Pioneer theme for when our time came. 

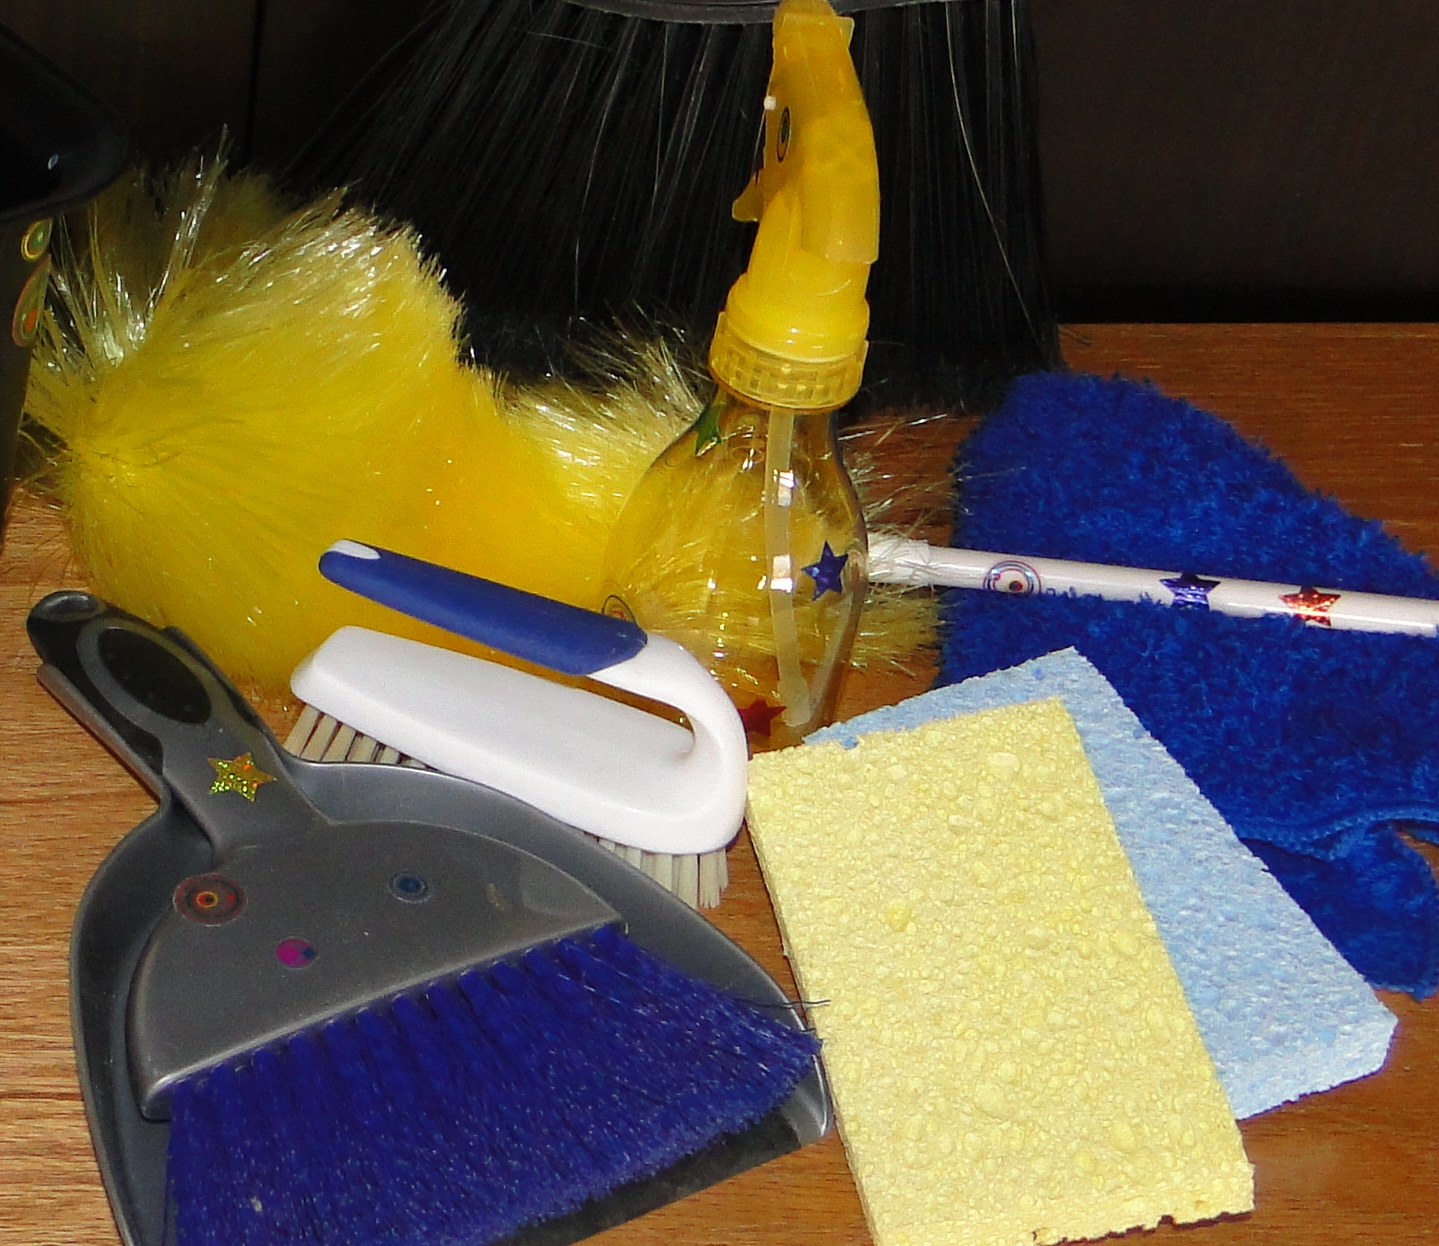
To get things started, we sent off a reminder invitation, that hinted of the fun to come a few months in advance.  In the invitation we included food or other assignments, and called people the week before to remind them of what they'd been asked to bring.


Family History Tour

Our first activity was a potluck lunch.  Instead of holding it at the family farm, where the rest of the reunion would be held, we all met at a small town a little to the south.  There are several pioneer homes still standing that were built and occupied by our ancestors.  My dad is a cartographer-and he made a fantastic map of the town showing locations of ancestral properties that we handed out, and on the reverse we included a brief history of some of the ancestors that had lived in the homes.  We lucked out on our first stop.  It turned out that the town had hosted a historic home tour the week before, and the distant cousin that lived in the first home had it all spruced up and let us come in.  She even gave us a booklet that had some information about the homes we'd planned on visiting, and it mentioned another home we weren't aware of.  After a great tour of the property, we finished out the tour as planned, then headed back to the family farm.

Of course we couldn't have a pioneer themed reunion without some dutch oven food for the evening!

Activities

 Pioneer Crafts for the Kids
There are a few simple toys traditionally made by pioneer children.  We made button wizzers-a simple toy made of string and a button.  I'd bought some extra large buttons thinking they would work well, but they didn't make the wizzing sound the smaller buttons I'd brought as extras did, so we ended up using the smaller buttons.  Here is a video showing how to make and spin the wizzers.  It is easier to watch than for me to try and explain how to pull it.  We also made yarn dolls by winding yarn around cardboard squares as shown in this tutorial. Corn husk dolls would be cute for a smaller or older group of children than the group I would be doing crafts with.

Pioneer Games
Some of the games we had ready included sack races, three-legged races, tug-of-war, and stick pulls.  You are probably familiar with most of these pioneer games.  The stick pull is a wrestling game, where two people sit facing each other with their feet together.  Both hold onto a broomstick, and attempt to pull the other one off the ground.  The first person who's seat is off the ground looses.
Other games that would work for a pioneer themed reunion include pie or watermelon eating contests, watermelon seed spitting contests, horseshoes, egg races (where you put an egg in a spoon and try to finish the race first with an unbroken egg).

Photo Booth
We knew not all of our families would enjoy dressing up, but we knew some would, so we brought some pioneer clothes, and encouraged others to bring some if they had some.  I created some costumes on a stick for those who wanted to get pictures but didn't really want to dress up much.  (here are some printables I used)Here is a link to some great mustache templates, I cut mine out of brown and black craft foam, and attached them to bamboo skewers. 
I also made a cut-out wanted poster.  Technically we didn't have a "booth" because the family farm had so many great backdrops.  A simpler backdrop could have been created using cardboard and paint, or a plain sheet. We brought a laptop and blank CD's to burn copies of the pictures onto right after they were taken, so nobody had to bother with e-mailing or mailing them out and trying to figure out who's who etc.after the reunion.  We used camera settings and a free Photoshop type program (GIMP) to adjust the photos so they looked old.  Some turned out really good.  Another option is to provide the backdrop and costumes, then let families take their own photos.


Pinata:
It has become a yearly tradition to have a pinata for the kids.  I couldn't find a western one I liked, so I just took a box and wrapped it with brown paper, cut out four wheels, and folded another piece of cardboard wrapped in white paper over the top to form a covered wagon.  I ran wire under the box and up through the canopy for something to tie the rope to.  (If making a homemade pinata, be sure the thing can be broken.   I scored the box with a box cutter before wrapping it to weaken it so it would be sure to break.  We attended a party where the pinata made for the toddlers had duct tape holding it together.  It was cute, but took some strong guys and a baseball bat to finally break it open).

Homemade Ice Cream...in a bag
We let the kids have their hand at creating their own icecream.  The recipe and method we used is here.  The only suggestions we have is to DO IT OUTSIDE.  The salt and ice tends to get everywhere, especially with enthusiatic shakers. I would double bag the outer bag, and possibly double bag the inner bag.  This icecream is a bit softer than soft serve, just shake it until it is thick enough to eat with a spoon, and eat it as soon as possible-it melts fast. If you try to get it thicker, the ice will start to melt too much, and so will the ice cream.  This recipe also hardens to a rock if placed in the freezer long...we had to microwave some leftovers to get it soft enough to chisel into serving sized portions :)  If you want to make something more like store-bough ice cream, don't do it in a bag, and use a different recipe. We have a hand-crank ice cream maker that is great when you want to involve kids. Ice cream in a bag is mostly for the fun of making it rather than the quality of the end result-though it does taste yummy!

Quilt Tying
We have the tradition of tying a few quilts while at the reunion that are donated to charity after the reunion.  It makes a fun gathering spot for chatting too.

Food Ideas

Potluck the first evening, then we had pancakes for breakfast-a fast way to feed a lot of people.
Lunch was dutch oven again-but we cheated a bit to speed things up.  We brought frozen roll dough, let it thaw, and fried it up as scones, and topped it with cheese, chili, tomatoes, and salsa.  We set up the toppings so people could help themselves to what they liked, and had some side dishes.
We don't have a reunion fund we use for food, instead we try to spread it out so everyone brings an ingredient or side dish.  We make allowances for those traveling longer distances and assign non-perishables to them.  We try to divide up the more expensive ingredients fairly and assign less critical ingredients to those who aren't sure they can make it.

Other ideas we didn't use this year but would have been fun:
Campfire and sing-along.
Evening Program, with things like stories from ancestor's biographies or journals, skits, humor, talent show, songs, etc.
Mini-museum.  Have people bring heirlooms and set up a mini museum with cards describing the objects and the person it belonged to.  (You may want to assign someone to keep an eye on them so valuable items aren't handled by children, or suggest a photograph of valuable or delicate items be brought instead of the actual item.)  Be sure to include historic photographs and journals, etc. of the people who owned them.
A hollyhock decended from original seed planted by our ancestor.
History Swap: Collect relevant family histories ahead of time, and create a CD to hand out or sell for the cost of producing it.  Include scanned historic photographs.  Another option is to post the histories on a website accessible to family members, like MyFamily.com.
Pedigree Charts:  Hang a large pedigree chart up, with photographs attached when available.  You might have smaller charts available, or cute blank ones for people to fill out themselves as an activity. There are some nice ones available here, and some designed like trees here.
Make some homemade butter:  just put some heavy whipping cream into a jar, and pass it around during a meal or program.  Have everyone shake it for a minute or so and pass it on until the butter solidifies.  Pour off the buttermilk, and add a bit of salt if desired, then serve.  
Have a special guest:  Have a family member or someone else come in costume and either tell a story or demonstrate a pioneer skill.
Pedigree Nametags:  For extended family reunions, Have name tags that look like a partial pedigree so people can see how you descend from a common ancestor.  Three generations would be about all you could reasonably fit onto a larger tag.
Hay Ride


Fun with Grandpa's tractor


What are some tips you have for a successful family reunion?


Quilt Swap and Auction (for fundraising): another side of my family has the tradition of raffling off a quilt each reunion.  Funds are used to provide a few things for the next reunion.  The catch if you win...you provide the quilt for the next year.  We also bring little items to sell-things like used toys, books, DVD's, crafts, baked goods, etc.  We buy tickets for $0.50 and drop as many tickets as we want into a cup by the item.  A ticket is drawn for each item.  
Location: Each of the different family reunions I attend has different ways of organizing the location.  Some meet at the common grandparent's home, or when the family outgrew that location, we meet at a nearby park (make sure to reserve your space if needed) or church.  Some rotate locations to rotate the longer traveling between members fairly (as possible and reasonable).  Pick locations that will still work if the weather turns cold or rainy, or have alternate places to go so you don't have to cancel.
Timing: Would it work best for your family to meet yearly?  Every other year?  It seems to work best to choose a date at the previous reunion and stick to it.  There will always be conflicts, but it helps to have your date on the calendar way in advance so people can plan around it, rather than surprising everyone with a date a few weeks away.  It also helps to always use the same weekend every summer, so people get used to having it then.  A common ancestor's birthday, anniversary, or a holiday make it easier for people to remember the date.
The "Committee": how formal do you want your reunion?  How much planning is needed?  Who is going to keep track of any funds?  It is a big job to organize a lot of people, make sure there is enough food, and something for everyone to do.  It helps to have a meeting at each reunion where the person in charge of the next reunion is assigned.  You might want to rotate through siblings, or some other orderly way so people aren't surprised when their turn comes around.  If you have a large family, you could either make assignments for subcommittees now, or let the person in charge for next year make the assignments.  What you should avoid is making the same people do the lion's share of the work year after year.  As willing as they might be, you don't want them to get burned out, and if someone feels involved and important, they are more likely to attend.
Think of the kids:  you may look forward to getting a chance to catch up with family you don't get to see much, but all this sitting and talking is very boring to kids, especially if they don't really know these people.  You may want your children to get to know these people who are important to you, but it is a much better idea to do it through activities. 
These activities don't need to be grandiose or expensive.  As a kid, we waited all summer to be able to go to the "Balloonion".  What made it special?  A tank of helium and some balloons.  We couldn't wait.  (Even if the majority of them were breathed in so we could talk funny...).  We always knew there would also be a few games and races with a bit of candy for the winners (and losers). 
Think of things like Frisbee, sidewalk chalk, bean bag tosses, balls, and if you are brave, water guns and water balloons.  Just be prepared for a few adults to get a little wet too.  Assign someone to be in charge of the kid's crafts, activities, and games.  Every second of the reunion doesn't need to be planned, just have a few fun things for the kids to do when they get bored of chasing each other around.

Toy Box

For Christmas some of my siblings wanted to give our mom a "Grandma's Toy Box".  My contribution was to paint the exterior, and then I sewed some canvas bags to hold some of the toys with lots of pieces. 


The canvas bags have a basic shape drawn on them with a permanent marker to so even kids who can't read yet know what is inside without dumping them on the floor.  The toys shown are all from Ikea...love that place!


For safety, we installed some brackets that keep the lid from closing too fast.  This was a must since the lid was heavy.

Easy-Peasy Light Box


Light boxes are a great way to introduce a toddler to color and light.  Because children are interested in the way light plays over and through objects, they can be used to hold a child's attention while you introduce other concepts. Colorful shapes can be used to teach sizes, shapes and sorting skills.  They can also be used to introduce math concepts such as counting and basic fractions. Because light boxes are fun, children use them in sensory, exploratory, and imaginative play. -And by the way, did I mention they are cool?  I wish I'd had one as a kid!

A professionally built light table is pretty expensive, and so are many of the blocks and objects sold for use on light tables.  Buying one wasn't an option for us, so I got creative.  There are quite a few homemade light box tutorials out there, and I combined a few features from my favorites-using the most economical materials I could find.

To build your own light box, the name says it all.  You need a box, and a light.  You need a box with a transparent or translucent top that is fairly durable, and you need a light source that is diffused and not too bright or dim.  This leaves you with a lot of options when it comes to making your own.  Most tutorials either suggest you build a custom frame with glass or plexiglass tops, or use plastic storage totes.  For lighting the favorite is the under-counter fluorescent lights-they are relatively inexpensive, cover a large area, and do not heat up.  Battery powered closet lights are also popular for boxes that need to be portable.   Other creative solutions for lighting included Christmas light strings and rope lights. The most unique solution I saw used an old flatbed scanner-but I don't have the electronic expertise to rig one of those.

This is what I came up with:

1. Two small totes: Only one child will be using this at a time, so I didn't need a large box.  I wanted the totes shallow-you don't need much height for a light box, and I wanted the height of the box to be manageable if I stacked a second tote on top to contain objects. I'd hoped to find something with a flat bottom, but had to make do with two small indentations on the lids and base of the totes.  The deciding factor: these were on sale.
2. Extension cord: I used one I had already.
3. Aluminum foil to line the tote. Most light boxes are set up so the bottom and sides are opaque, and they are usually lined with something that will reflect light back to the top.
4. Socket plugs ($0.97).  I looked at a lot of options for lighting.  These totes were slightly too small for the undercabinet lights I already had, or I would have used those.  It would have cost about $10 to get a shorter light, and a bit more to buy a rope light, which would have been another good option.  These sockets plug into a normal plug, and hold a standard size light bulb.  I worried using bulbs like this would make two bright spots, and the rest of the box would be dim, but the tissue paper diffused the light well enough that you don't really notice the two brighter spots much.  (And I figure this is a temporary setup anyway).
5. Light bulbs: don't use regular incandescent bulbs, they get too hot and would possibly melt the box and in the worst-case-scenario could start a fire.  Compact florescent bulbs can generate heat, but not enough to cause a problem if used for short periods of time.  I wouldn't suggest leaving it on for more than an hour or leaving the box unattended without checking the temperature.  How hot it gets will depend on the wattage you choose. So far we haven't had an issue with heat.
6. Tissue paper: you need something to diffuse the light a bit so you don't have a few bright spots and the rest is dark.  I like tissue paper because it comes in larger sheets, so you don't have to tape it together and it is thin enough to let a lot of light through while spreading the light more uniformly instead of having a few bright spots.  Some people like contact paper with an etched glass look.
7. Tape.

To assemble:
1.  Line one tote with foil, and line the lid with tissue paper.  I just used a bit of tape to hold it down. In a few tutorials they've spray-painted the inside of the bottom tote with silver.  I figured I can more easily re-purpose the totes if I use foil.
2.  I plugged the sockets into the extension cord, and screwed in the bulbs.  Some tutorials suggest drilling a hole in the tote for the cord, but I found the lid closed easily over the cord without pinching it dangerously. Again, this will let me use the tote later for something else when I get around to building a nicer light box.
3. I suggest using some packing tape to hold the lid of the tote down, so it isn't a temptation to open the light box.


Some ideas for using the box:
I tried to find some affordable colored plexiglass or other colored blocks to use with the tote, but everything turned out to be rather pricey.  While I'd like to get some sometime-I decided any translucent plastic could be used in the box.  First find: some plastic binder dividers.  I cut some shapes out of the plastic and we were ready to go!  These were heavy enough that they haven't bent yet.  I may get some more and make some blocks and cups or cones to play with.

Another favorite activity has been the floral gelatin beads.  These are fun to pour and scoop-and there are a few that came out tiny-and we had fun sorting through them looking for the itty bitty ones.

I bought our beads for $2 at the big W.  Each package contains about a teaspoon, but once hydrated, one package was enough to cover the bottom of the tote.  These are non-toxic, but can be a choking hazard, so use supervision if your child is curious or mouths objects.  These feel wet and rubbery, don't squish too easily, and are pretty fun to run your hands through.  They also seem to last indefinitely, and are slow to dry out (a few that fell on the floor and were found a few days later had shrunk to half their size but returned to normal after being soaked).  They can be put in a sieve and rinsed if you feel they need it, and I just dump them into a plastic zip bag and keep them in the fridge.  I guess they will gradually loose their color but after a few weeks ours still look the same as day one.

Cons: they do bounce if dropped and can be a bit hard to contain, I have to pick up a dozen or so after each play session but feel it isn't enough of a mess to do away with them.  The red ones don't stain fingers or the tote that I used-though a white plastic scoop I let him use picked up the dye.  To be safe I rinse out the tote and wipe it down after each use.

Not everything needs to be translucent-one of the favorite toys to go in the box has been a pile of little plastic animals.  The light makes great silhouettes out of the figures, and my little buddy likes moving them into cups and containers then dumping them out.  He also picks up random objects to put in the box, and it is fun to stand back and watch him experiment.

The next thing I'd like to try is salt painting-just pour table salt or sand into the bottom of the tote so it has a good covering, then draw in the salt.  This would be a good way to practice letters or shapes, or tell a story.  Here is a link to a video showing a master artist using this technique.  You could even show this video to older children, then have them tell their own story. 


Sherpa Bomber Hat and Gloves

I've been wanting to make my little buddy a bomber hat when I found some great Sherpa microfleece last year.  I've been searching for a simple bomber hat pattern I could use and finally found one at Delia Creates.  I followed her pattern measurements, and it just fits my son's 18 1/2 " head.  It probably would have been nice to cut it a bit larger-but I figure it will fit him until we are out of the cold weather.  Since the Sherpa fabric was fleece on one side and microsuede on the other, I didn't line the hat, and sewed most of the seams so they were on the outside.  I like the look of the fleece peeking through.  I rolled the fleece and sewed it down so the bottom edges would look more finished, and I did the same to the brim before attaching it.  Since I didn't have to sew the lining, it worked up very quickly!  I do like how it comes low in the back to cover his neck, and his ears will stay toasty warm.  I left off the ties for now, but I'd like to find some matching twill tape to sew on so I can tie the flaps up if I want. 
I thought he should have some matching mittens so I deconstructed a mitten to create the pattern for the ones in the picture.  I did make a lot of changes to the mitten pattern, so I think I can post that for you without problem.
 Now I just need to make him a jacket, scarf, boots, pants, and goggles!


Mama's Little Helper

When my little buddy had been walking a month or two, he started trying  to do everything I did.  He especially liked sweeping, but such a long handle being waved around by someone without much fine motor control was a bit hazardous.  Luckily I had a small broom with an aluminum handle that I cut down with a bow-saw and popped the plastic top back on to the cut piece.  Perfect!  We jazzed it up with some stickers and my little buddy was just tickled.  He still gets it out frequently and helps me "seep".  Lately he's been wanting to help me "keen" the bathroom and dust, so I thought I'd encourage this while he was still small enough to think it is fun.  (He's about 20 months old now).  Maybe I'm the one that needs to look for the fun in cleaning...
I made this little kit for him using mostly dollar store items, and things from around the house. He helped me stick stickers on everything, and we are good to go!  I haul around my cleaning supplies in a tote, so I found a basket he could use to carry everything-and it doubles as a place to keep his cleaning things when he's not playing with them.  I included a microfiber rag, scrub brush, dustpan, duster, a few sponges, and  a squirt bottle with a little water in it.

 
We'll see how the water bottle goes-it might be too tempting to squirt everything, but so far my buddy is pretty good about using things like this the way I show him.  The only problem I've had so far is with the dust pan.  He was "helping" me cook the other day and I didn't see him take a measuring cup and dip it in the sugar.  That went mostly on the floor as he went to dump it in the bowl.  I helped him use his dust pan to clean it up, and unfortunately it must have been way too much fun, because he now tries to head for the sugar when he has the dustpan.  I'm thinking I'll get out some paper punch dots for him to sweep up, or some pom poms until the sugar is forgotten.


I tried using a technique to transfer printed images to wood using acetone as described in this tutorial, but had limited success.  I ended up having to go over the image with ink and paint before I was happy with it.  Too bad, I was hoping it would work better, I have a lot of projects where I'd like to transfer my art to wood but it seems like it might be easier to just work on the wood. If any of you have a better technique I'd love to hear about it!


Here you can see how it turned out.  In the photo I'd started going over the lettering with a very fine-tipped permanent ink pen-a thicker one bled into the wood.